How to change ShowMe Privacy?
There may come a time when you would rather share a ShowMe only with one student or group, or even keep the entire lesson to yourself. All of it is possible! Keeping ShowMes private allows you to save content like class grades, attendance sheets, and even contact lists alongside public or class-based materials.
There are three ways to change your ShowMe privacy, you can do it either from your iPad or through ShowMe website.
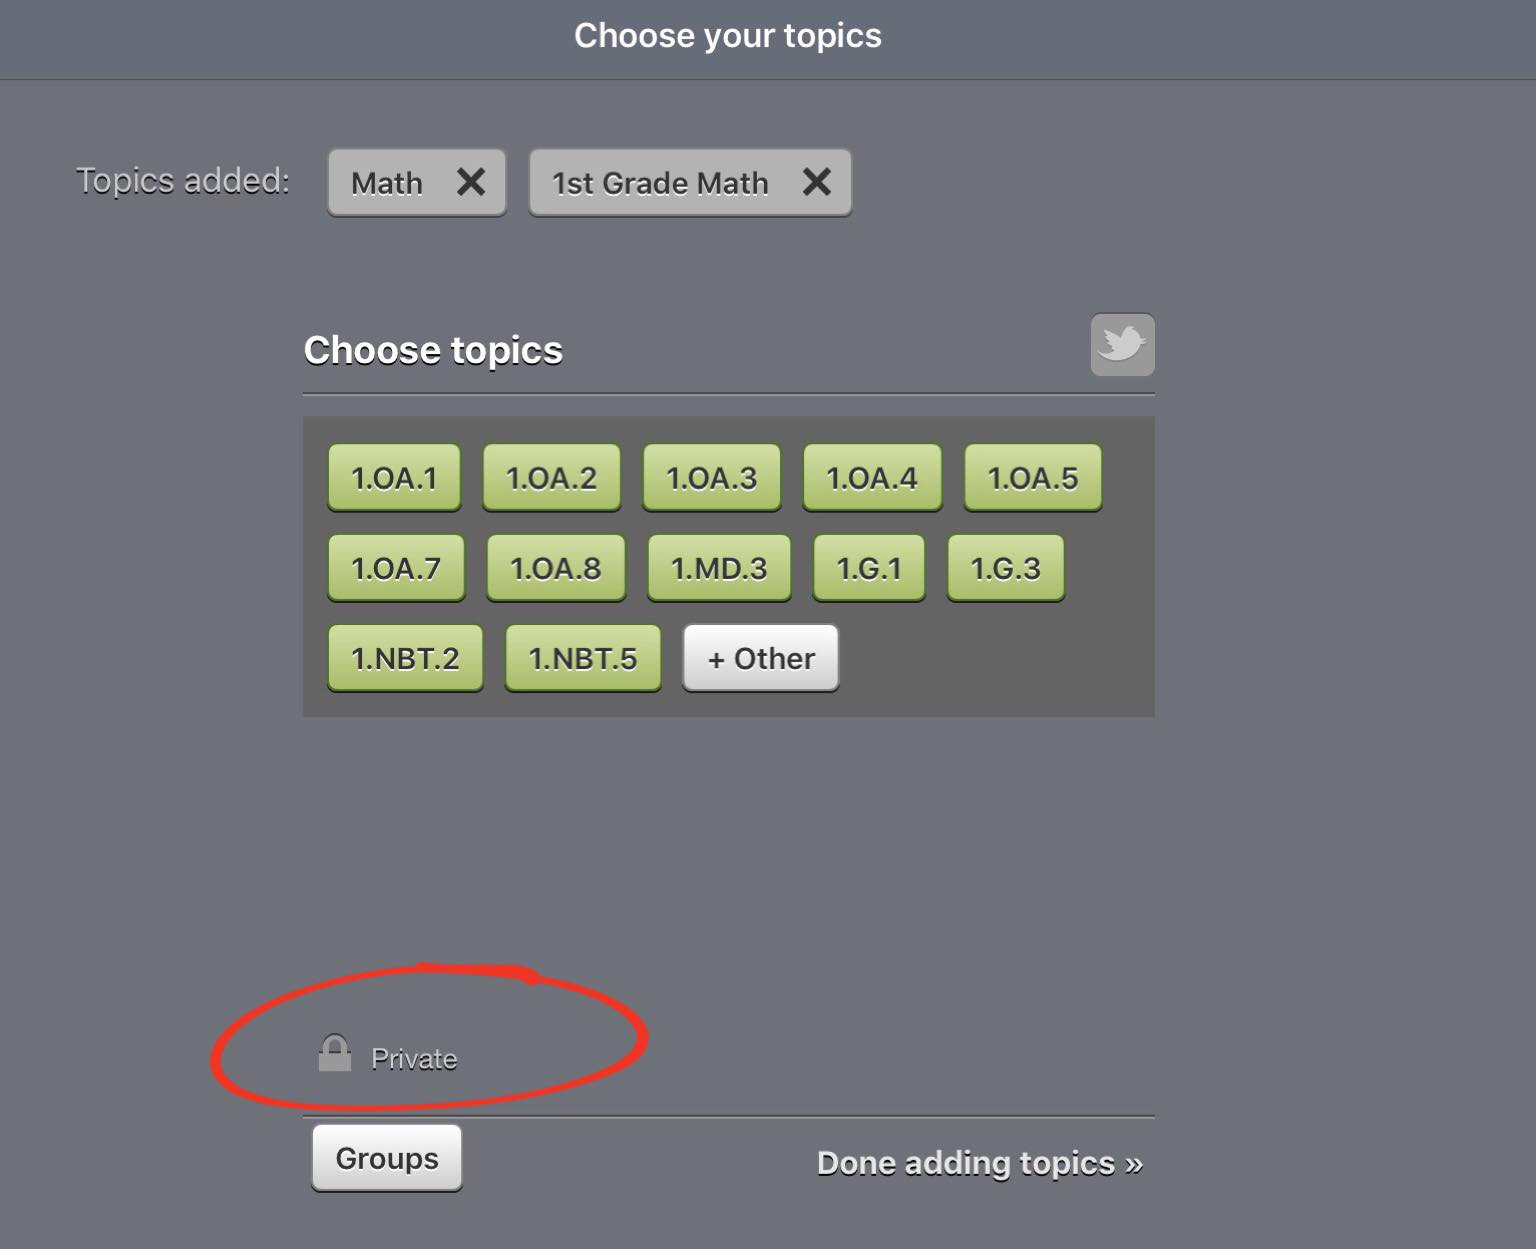
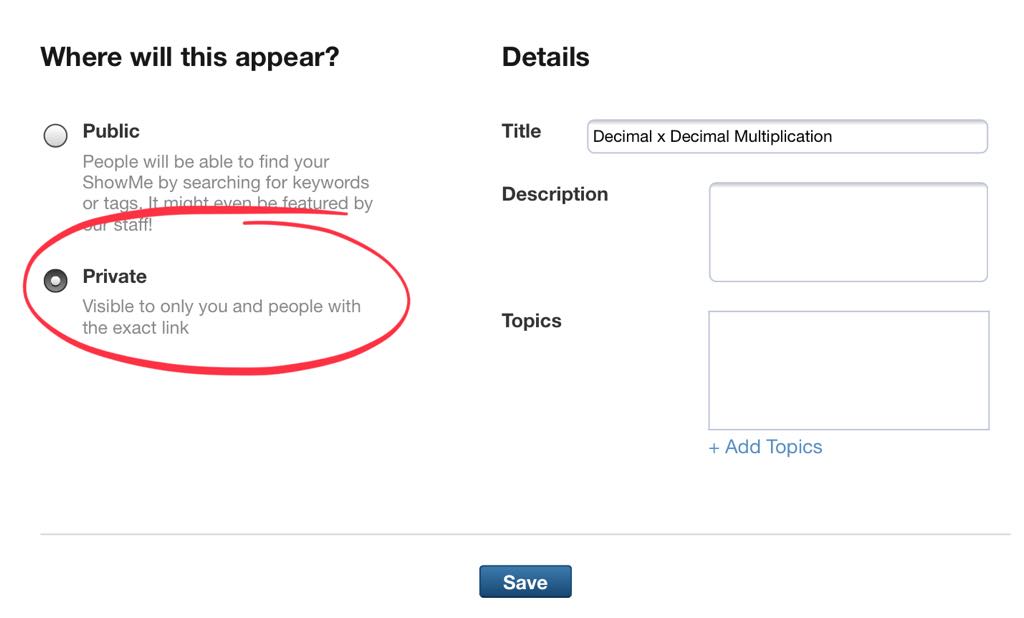
The first way to change your ShowMe file privacy is doing it while uploading the lesson. While choosing topics, tap on the button ‘Private’! Your file will immediately turn private.
Changing privacy with iPad:
- Open the ShowMe app and enter your ShowMes library.
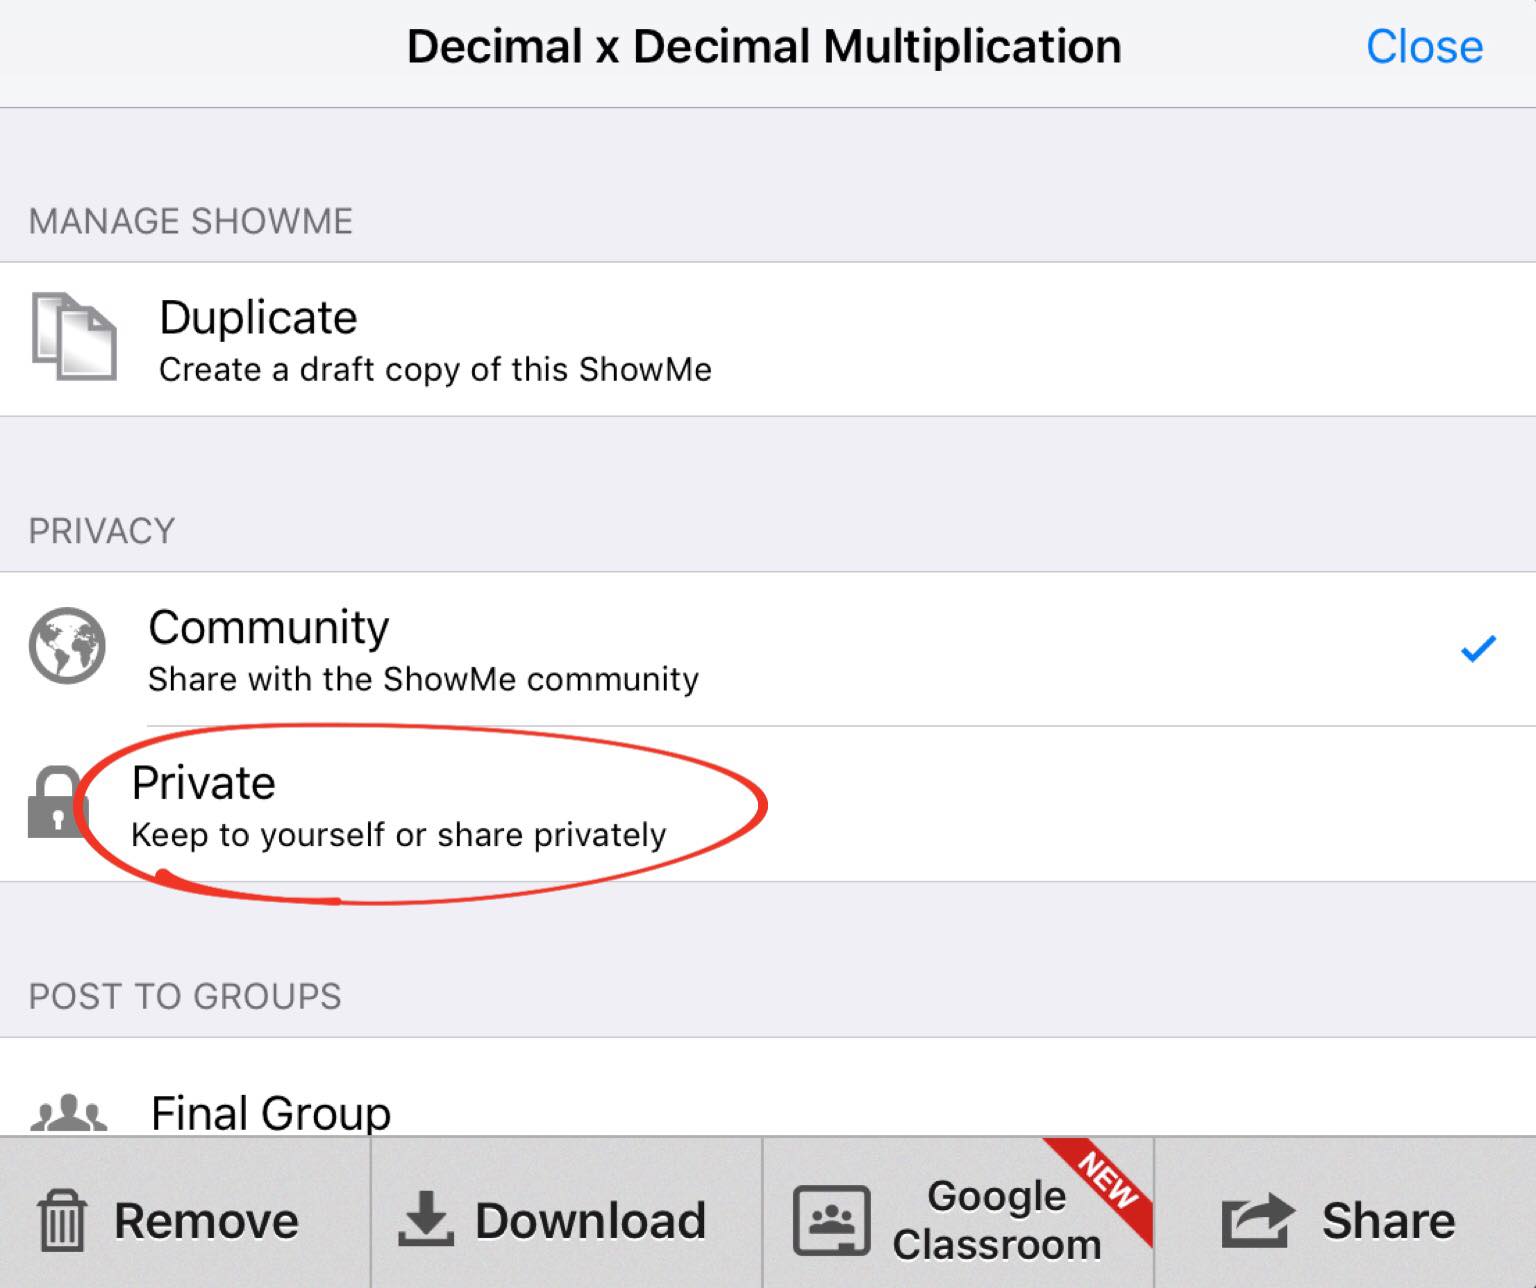
- Choose a lesson which privacy want to change, and tap on its gear button.
- From pop-up window choose ‘Private’, it turns your lesson into a private file.
- Tap on ‘Close’ to save changes.
If you change your mind and would like to make this lesson public again repeat steps above but instead of ‘Private’, tap on ‘Community’ button.
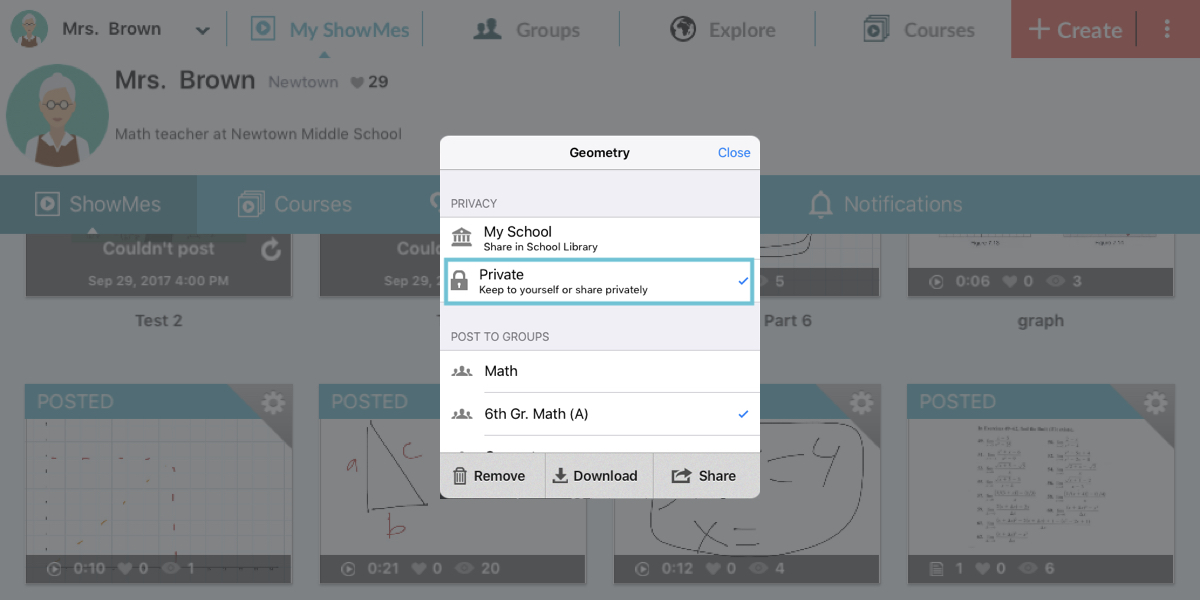
Changing privacy from the desktop:
- Log into your account and open your ShowMe library.
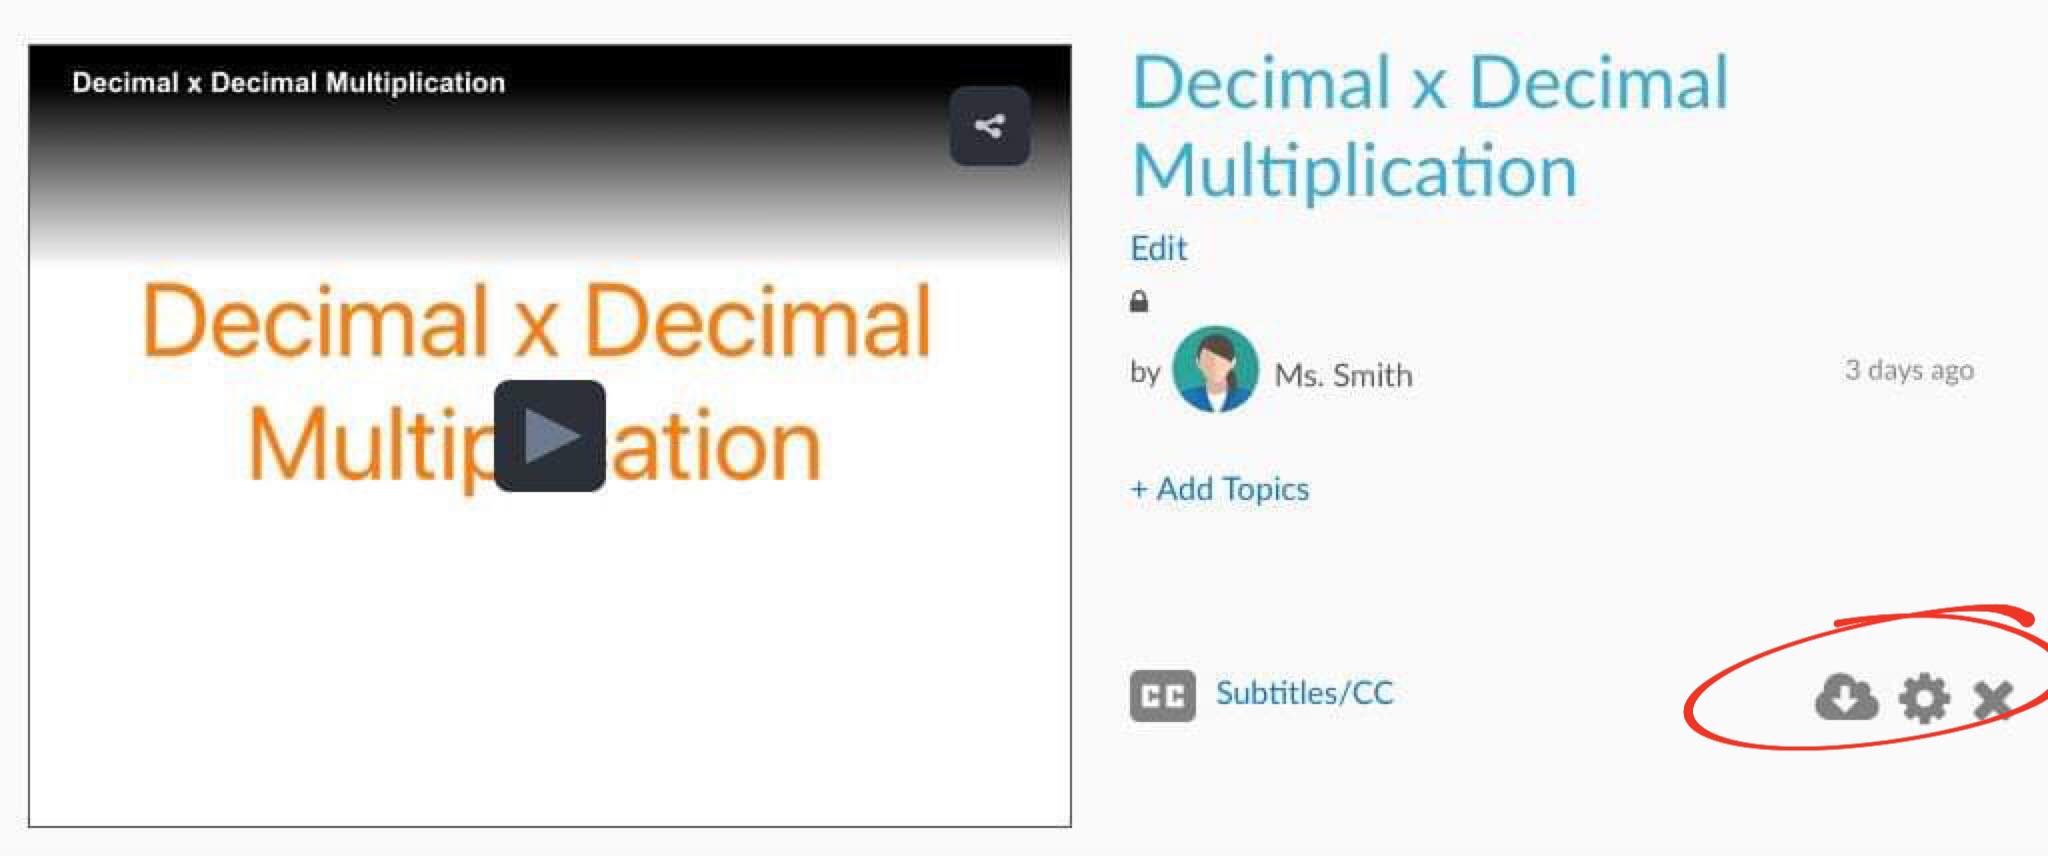
- Click on a ShowMe file which privacy you want to change.
- Click on the gear button.
- From the settings page, click on ‘Private’, and then just save the changes
Changing ShowMes’ privacy doesn’t mean you can not share them! Even though ShowMes are not visible for others in your library you can still post it in a group, or share it via Twitter, email or send a link!
Contact the customer service or just text our team on Facebook or Twitter if you have any questions or comments.