ShowMe & Zoom: How To Conduct Online Classes During COVID-19

Many educators who have never experienced distance teaching, or have never implemented any of the blended learning methods, have to currently make a big switch due to the COVID-19 social isolation, and school closure.
The circumstances are unexpected, and the steaks are high. Education technology is here to save the day, and to support every educator who must continue teaching despite the current events.
For all of those teachers who need to conduct live online classes, it’s necessary to have a set of tools to make the shift from traditional lecture to distance teaching.
In order to hold a live lesson, it’s important to have a meeting app, to share a video call with your student, and then to combine into it a whiteboard to explain the ideas, and share examples.
ShowMe and Zoom.us team to rescue!
How to use ShowMe and Zoom in online teaching step by step
The online communicator Zoom allows sharing the screen from the iPhone and iPad while using its desktop version. It means that teachers can screen the ShowMe whiteboard while having a call with students.
There are two main ways to connect your iPad to Zoom. First one if you download the app both on your iPad and desktop, and second one if you have the app only on the desktop (here you can connect them via a wired connection, or wirelessly via the Screen Mirroring feature).
ShowMe Screening Via Zoom App
- Make sure you have downloaded the ShowMe app and set up your account (check out ShowMe tutorials to learn how to manage it).
- Go to Zoom.us on your desktop, in order to start your online class you have to create an account. Once you have done it, download the Zoom app on your desktop. It’s free of charge, and it will be available to start your class anytime.
- Download the Zoom app on your iPad.
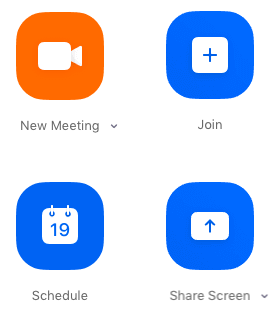
- Start your class by clicking on the “New Meeting” icon on the Zoom desktop app.
- In the meeting window, click on “Meeting” placed in the upper-left corner. From the drop-down menu click on “Invite.”

On the new window, you can see the meeting number/ID, and Meeting Password. You will need it to connect your iPad, and also to invite your students.
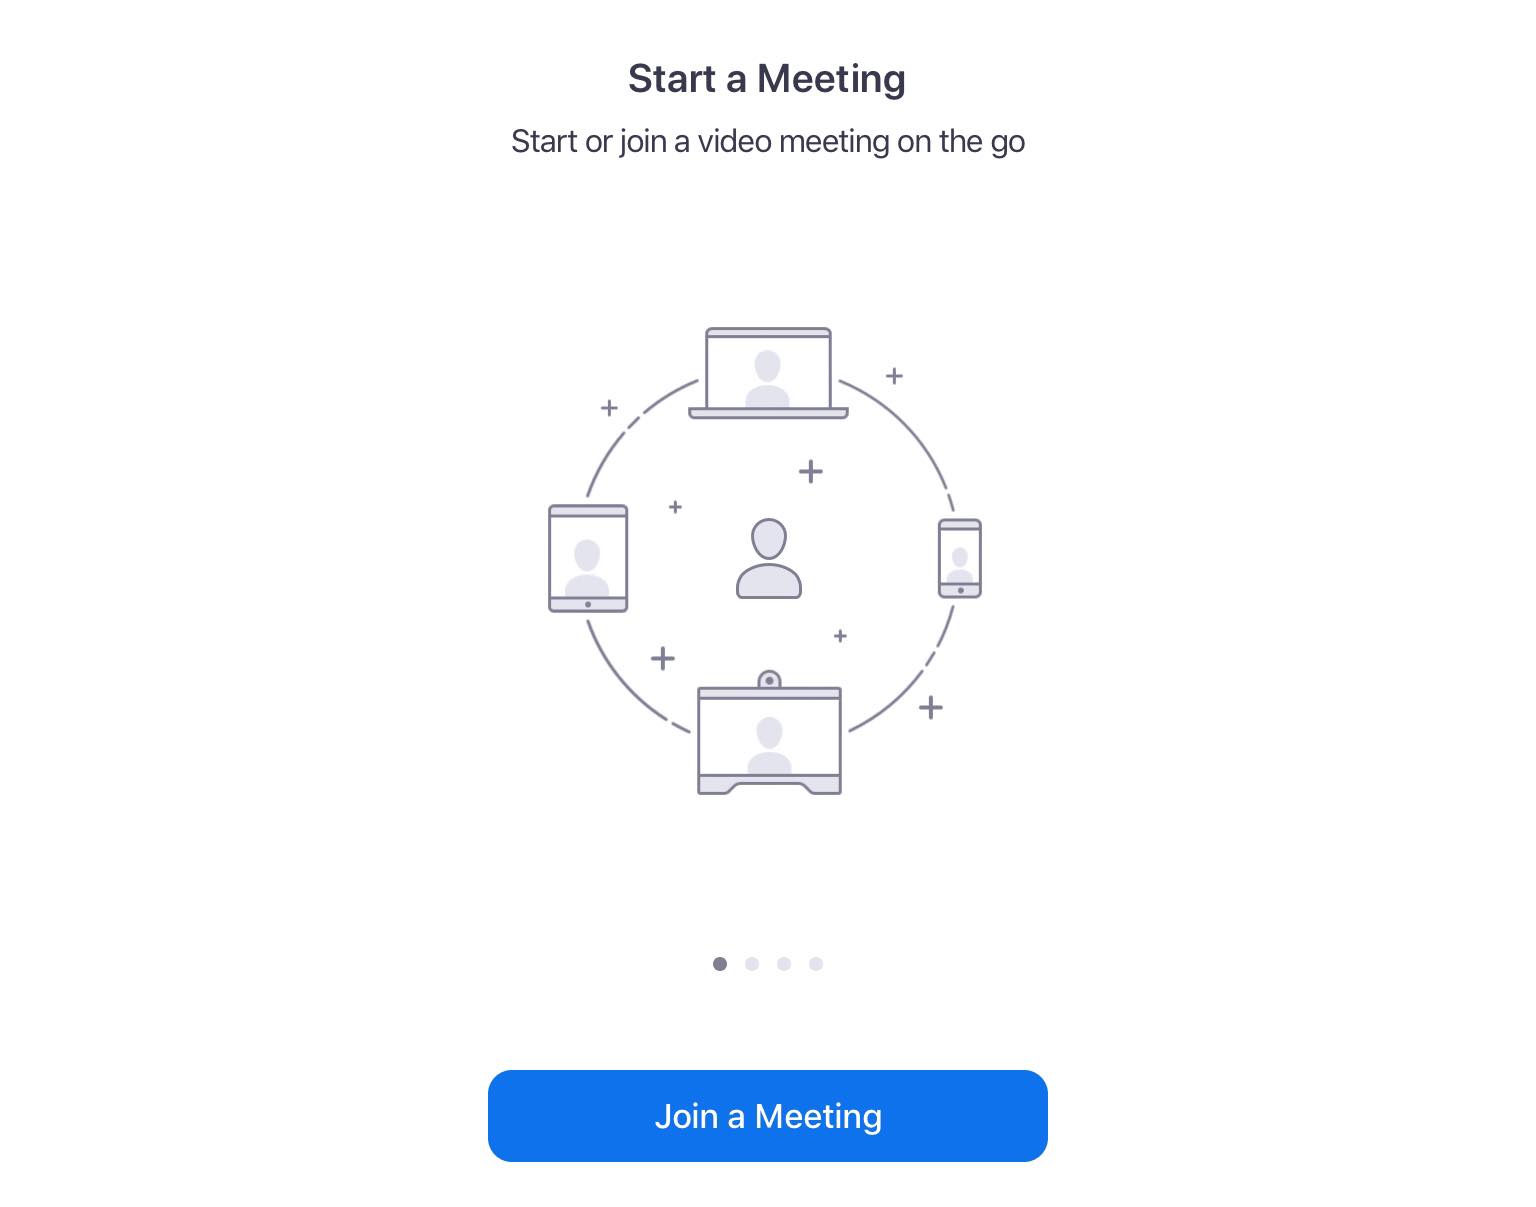
- Open the Zoom app on your iPad and tap on “Join a Meeting.”
- Introduce the Meeting ID (look step #5 to see where to find it), and tap on “Join.”
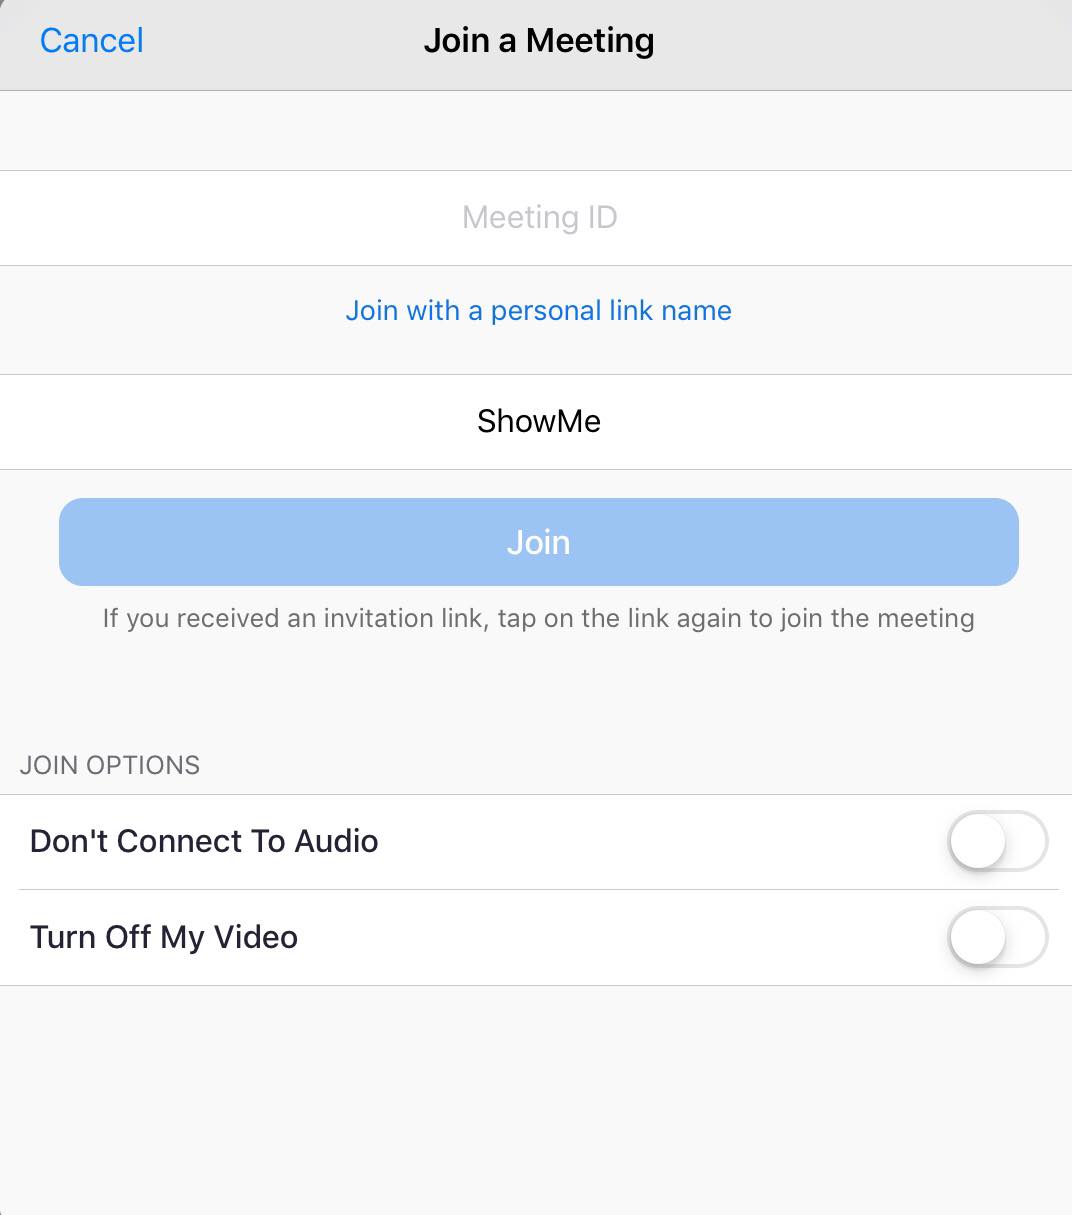
- Introduce the Meeting Password (look step #5 to see where to find it), and tap on “Continue.” Your iPad will be automatically added to the meeting.

- On the iPad screen tap on “Share Content” placed on the upper-right corner. In order to share the ShowMe whiteboard, from the drop-down menu tap on “Screen.”
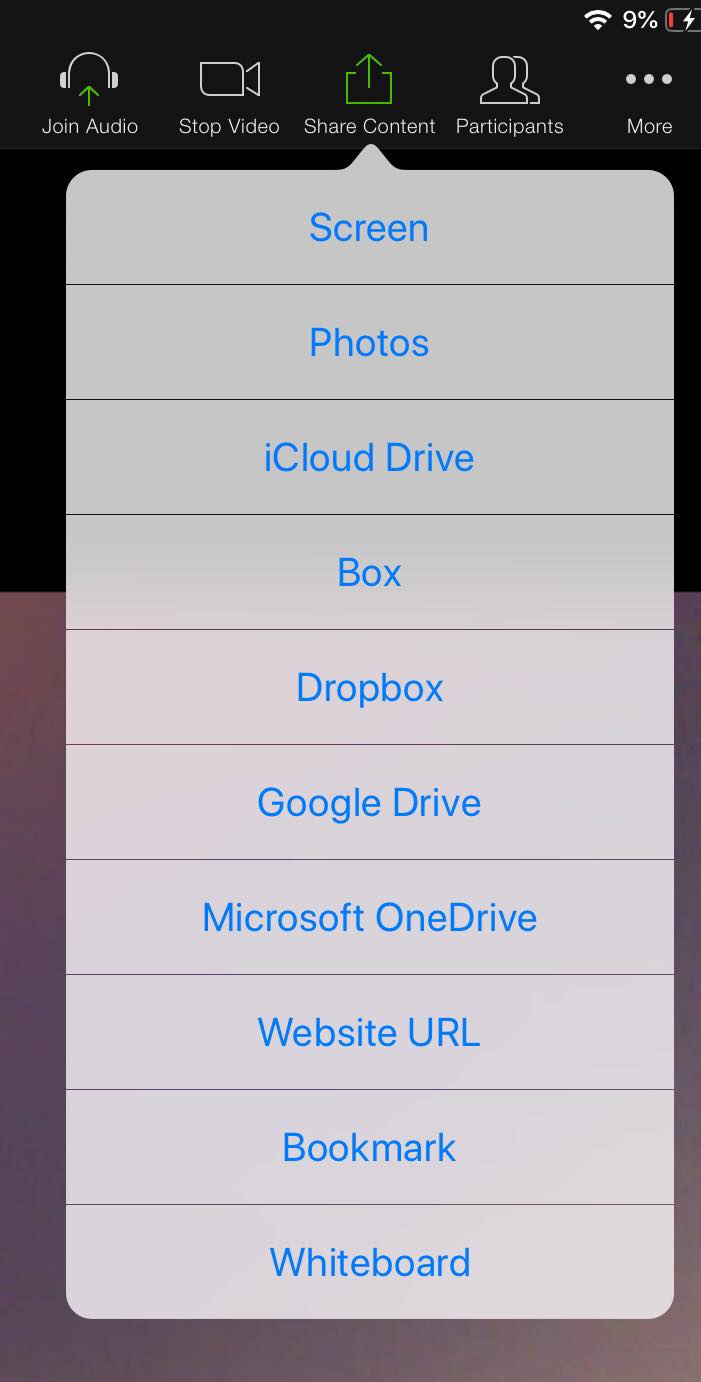
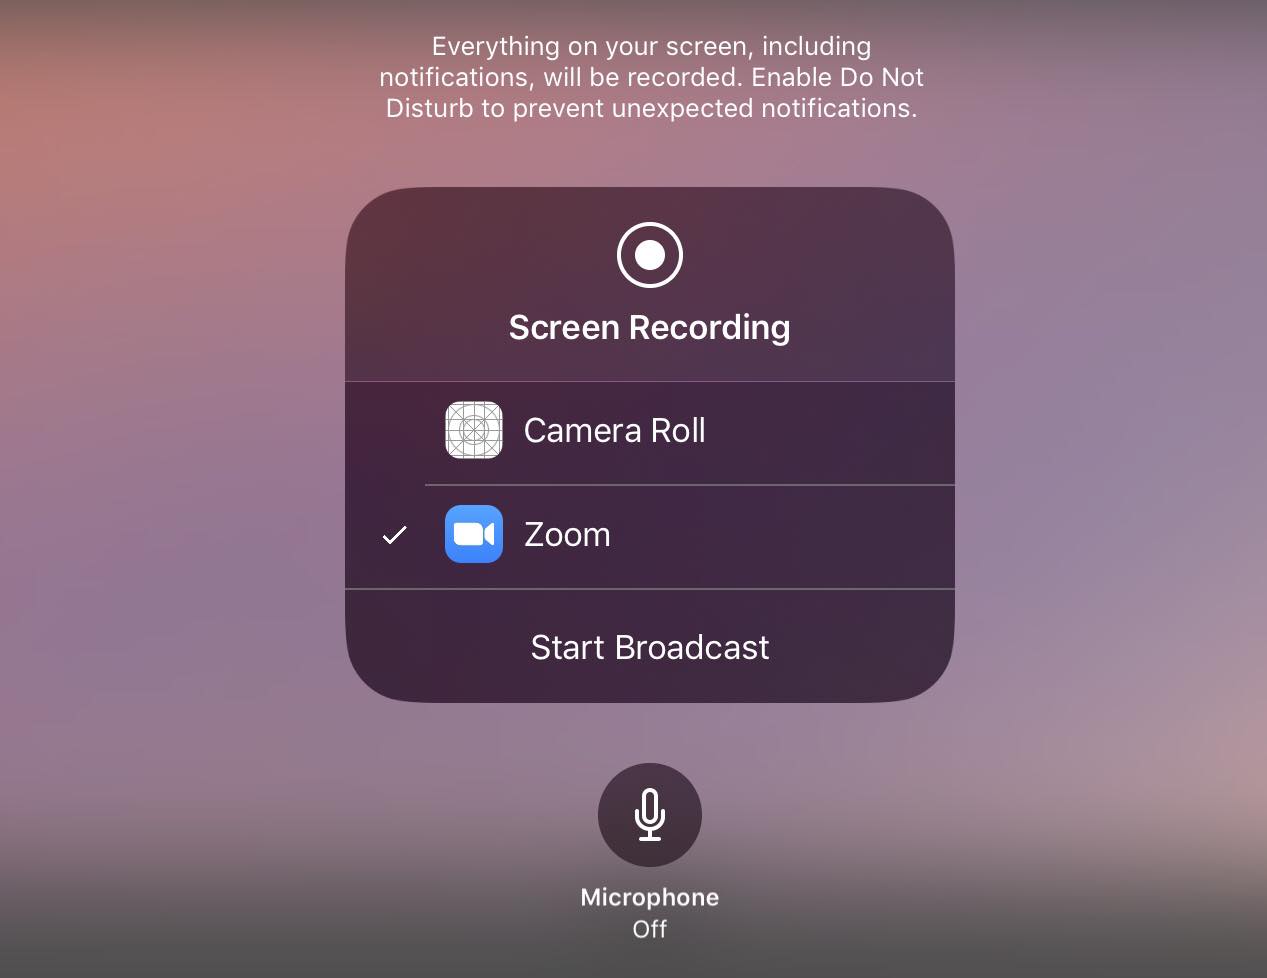
- From the pop-up settings, tap on “Zoom”, and to continue tap on “Start Broadcast.” The screen sharing will start automatically.
- Tap on the iPad home button, and then open the ShowMe app.
- Check out on your desktop Zoom app how it looks, and start running your class with ShowMe online whiteboard!
NOTE: If you don’t have enough space on your iPad to download the Zoom app, or your internet connection is weak, you can use ShowMe and Zoom via a cable or via AirPlay.
ShowMe And Zoom Connection Via Wire Or AirPlay
- Make sure you have downloaded the ShowMe app and set up your account (check out ShowMe tutorials to learn how to manage it).
- Go to Zoom.us on your desktop, in order to start your online class you have to create an account. Once you have done it, download the Zoom app on your desktop. It’s free of charge, and it will be available to start your class anytime.
- Start your class by clicking on the “New Meeting” icon on the Zoom desktop app.
- Once your meeting starts, click “Share Screen” in order to share the iPad screen during your class.

- You can decide either you want to connect your iPad wirelessly or with a cable.


If you choose the AirPlay feature, follow the steps below.
In case you decide to use a wire connection, jump to step number 7.
- Screening ShowMe in Zoom via AirPlay:
A. Click on the “iPhone/iPad via AirPlay” icon, and confirm by clicking on the “Share” button at the bottom of the window.
B. On this stage, you might receive on your desktop notification of installing a zoom.us plug-in. Do it to proceed forward.
C. Make sure that your iPad is connected to WiFi, and has enabled Screen Mirroring feature.
How to find it: Swipe down from the top right corner of the iPad screen. On iOS 11 or earlier, swipe up from the bottom of the screen.
D. Choose the name of your laptop from your iPad Screen Mirroring settings. The screen sharing will start automatically. - Screening ShowMe in Zoom via Cable
A. Click on the “iPhone/iPad via Cable” icon, and confirm by clicking on the “Share” button.
B. Connect your computer with the iPad via cable.
C. Confirm the connection by tapping on the “Trust” button on your iPad. You might be asked to introduce the passcode, and when it’s done, the screening will start automatically. - Open the ShowMe app to start sharing the whiteboard screen.
Wrap up
Incorporating a whiteboard such as ShowMe in your online class will be extremely beneficial for your students. They can follow your explanation as you hold the live class, take screenshots of your examples, and for those who prefer visual comprehension over listening or reading, it will boost studying performance.
Don’t forget to save your ShowMe lesson after having a class. It will allow your students to review the content, or catch up if they miss the class. If you teach students who don’t have access to the internet, you can simply download the lesson, and provide it to them on CD or memory stick.